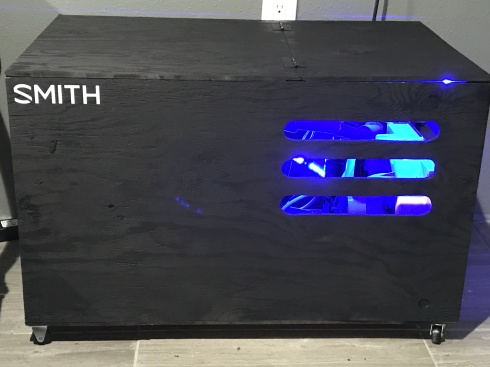
Finished Glycol Chiller made from an Air Conditioner
After getting fed up with constantly adding ice to my cooler, I decided that my next homebrewing upgrade would be to glycol. I didnt want to spend $1000 on it though. So I went with a much cheaper option, I built my own. The concept is pretty straight forward. Use the condenser from the AC unit to chill a bath of Glycol.
The Build.
I bought a brand new 5,000 BTU AC unit from WalMart for $97.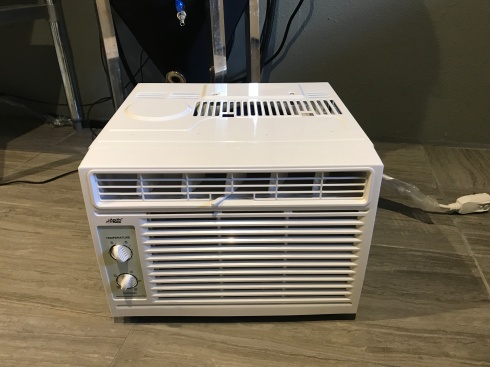
You can find them on Craigslist for cheaper, but I didn’t want to have to go through that hassle. So after you get your AC, take it apart. The outer housing unscrews and pops off pretty easily.
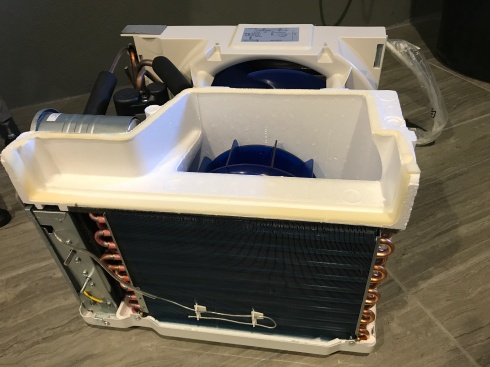
Remove the upper styrofoam and unclip the Thermometer from the Condenser. Next I unscrewed the control box to get it out of the way.
Now Comes the fun part. I moved the condenser away from the inner fan. I just gently and slowly pulled the copper tubing to allow enough working room.
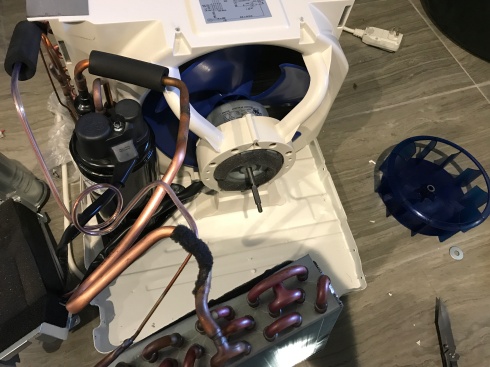
Use a hacksaw and trim the fan spindle, you dont want to have a fast spinning axle just hanging out there, and it takes up room.
Move on to the the control box.
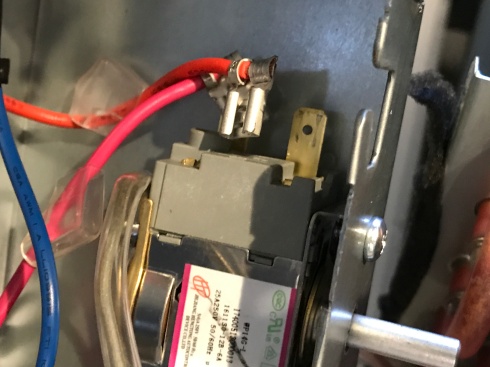
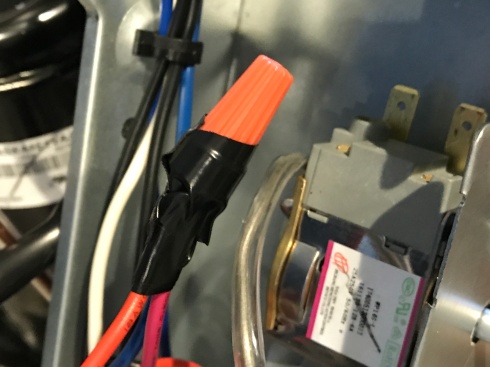
We need to bypass the Thermostat, It’s the one with the thermometer attached to it. Make sure it is set to max cold. Take the two wires running to the thermostat control and splice them together. Close back up the control box.
Back to the Condenser, Figure out how you want it positioned and how it will fit into your cooler. I’m using a 52qt tall cooler. Start pulling and moving the condenser into position. Just be slow and watch how moving one piece affects another piece of copper further down the line. As long as you go slow and carefull you will have no problems. Also, Be gentle with the condenser fins, they bend very easily. It’s not a big deal but you want to maximize surface area.
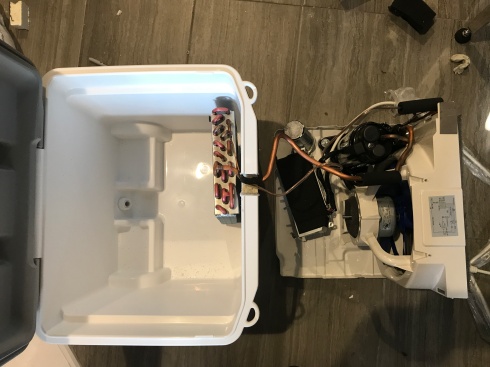
Use your hacksaw again and cut a notch out for your coil. You’re essentially done with the basic build. I suggest you at least mount the whole thing on a piece of plywood so it’s easier to move around. I wanted to enclose mine so it looks cleaner in the brewery.
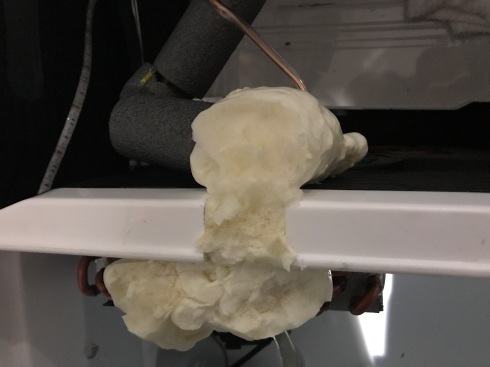
Once your happy with the placement of the condenser, Fill the gap with expanding foam. Let it dry and clean it up so the lid will close on the cooler.
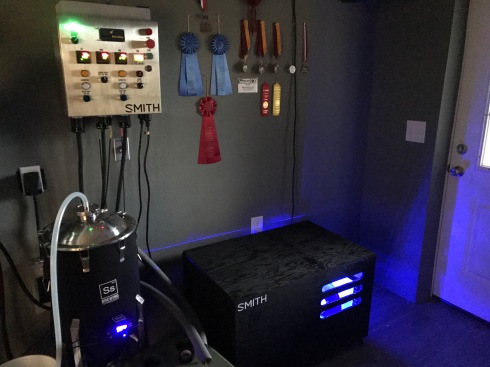
I built a simple box for mine using plywood. I cut out some vents for airflow for the A/C with a Jigsaw, attached some casters so I could wheel it around the brewery easily, and to make it look super cool, some LED lights (they change color too)
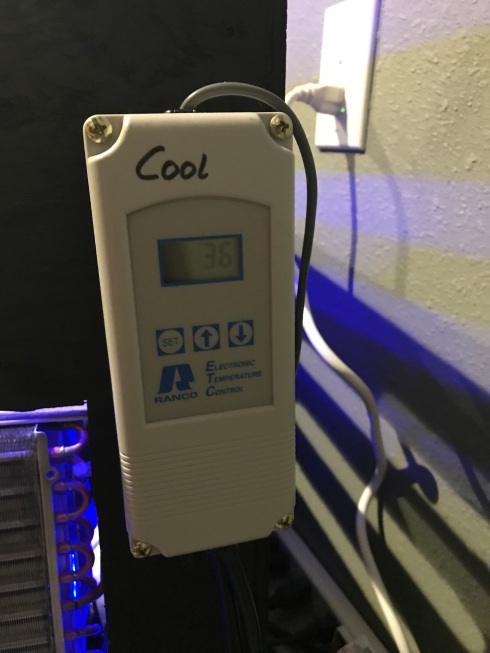
Use an external temp controller like and Inkbird or Ranco, route it’s temp probe to the cooler to run your chiller. I set my controller to 36 degrees, but it can go much colder.
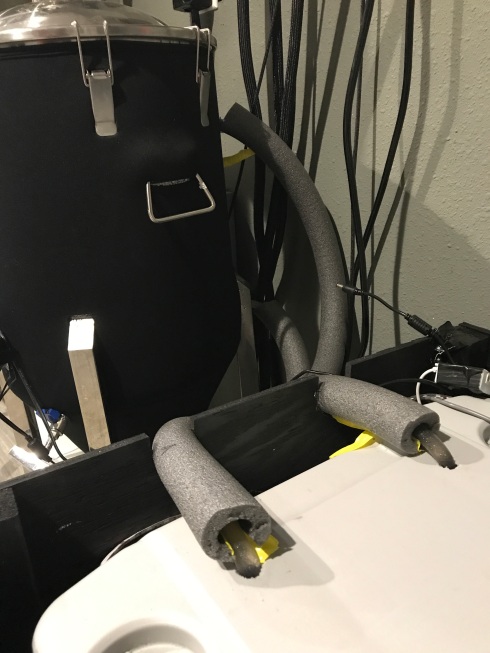 Drill some holes in the top of the cooler for the glycol hoses for your fermenter Wrap them in pipe foam insulation to prevent sweating
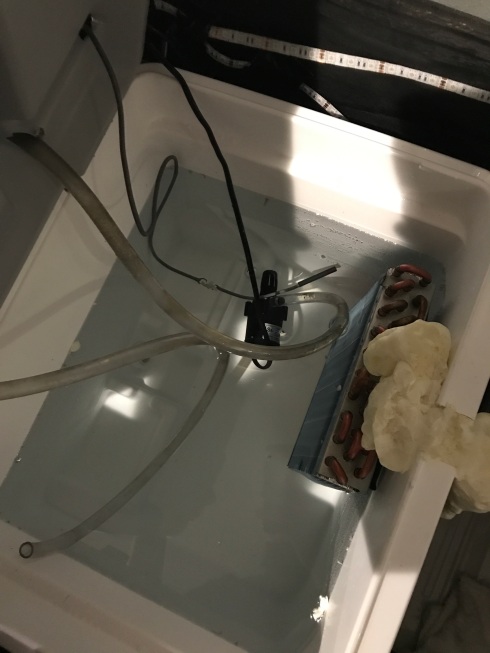
Glycol
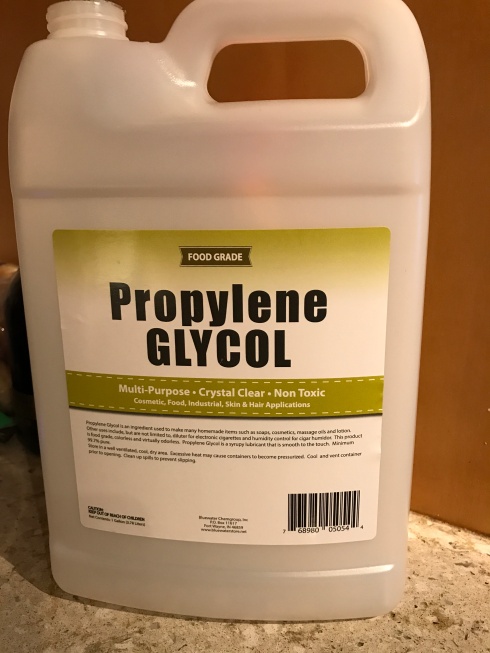
I bought two gallons of Glycol on Amazon. The cheapest I found was $25 a gallon.
I mixed 2 gallons of glycol with 6 gallons of water.
Here’s a quick dumb video of the Chiller.
Parts and Prices
Air Conditioner $97 Wal Mart
Cooler $40 Home Depot
Plywood, Paint, Casters, Foam $50
Glycol $50 Amazon
LED’s $20 Amazon
$260 Total
Thanks for reading and feel free to ask any questions about the build.


